Images & Media
The Images panel handles image management inside the editor. Upload from your computer, generate with AI, crop and adjust with a built-in editor, and manage all image assets in your project.
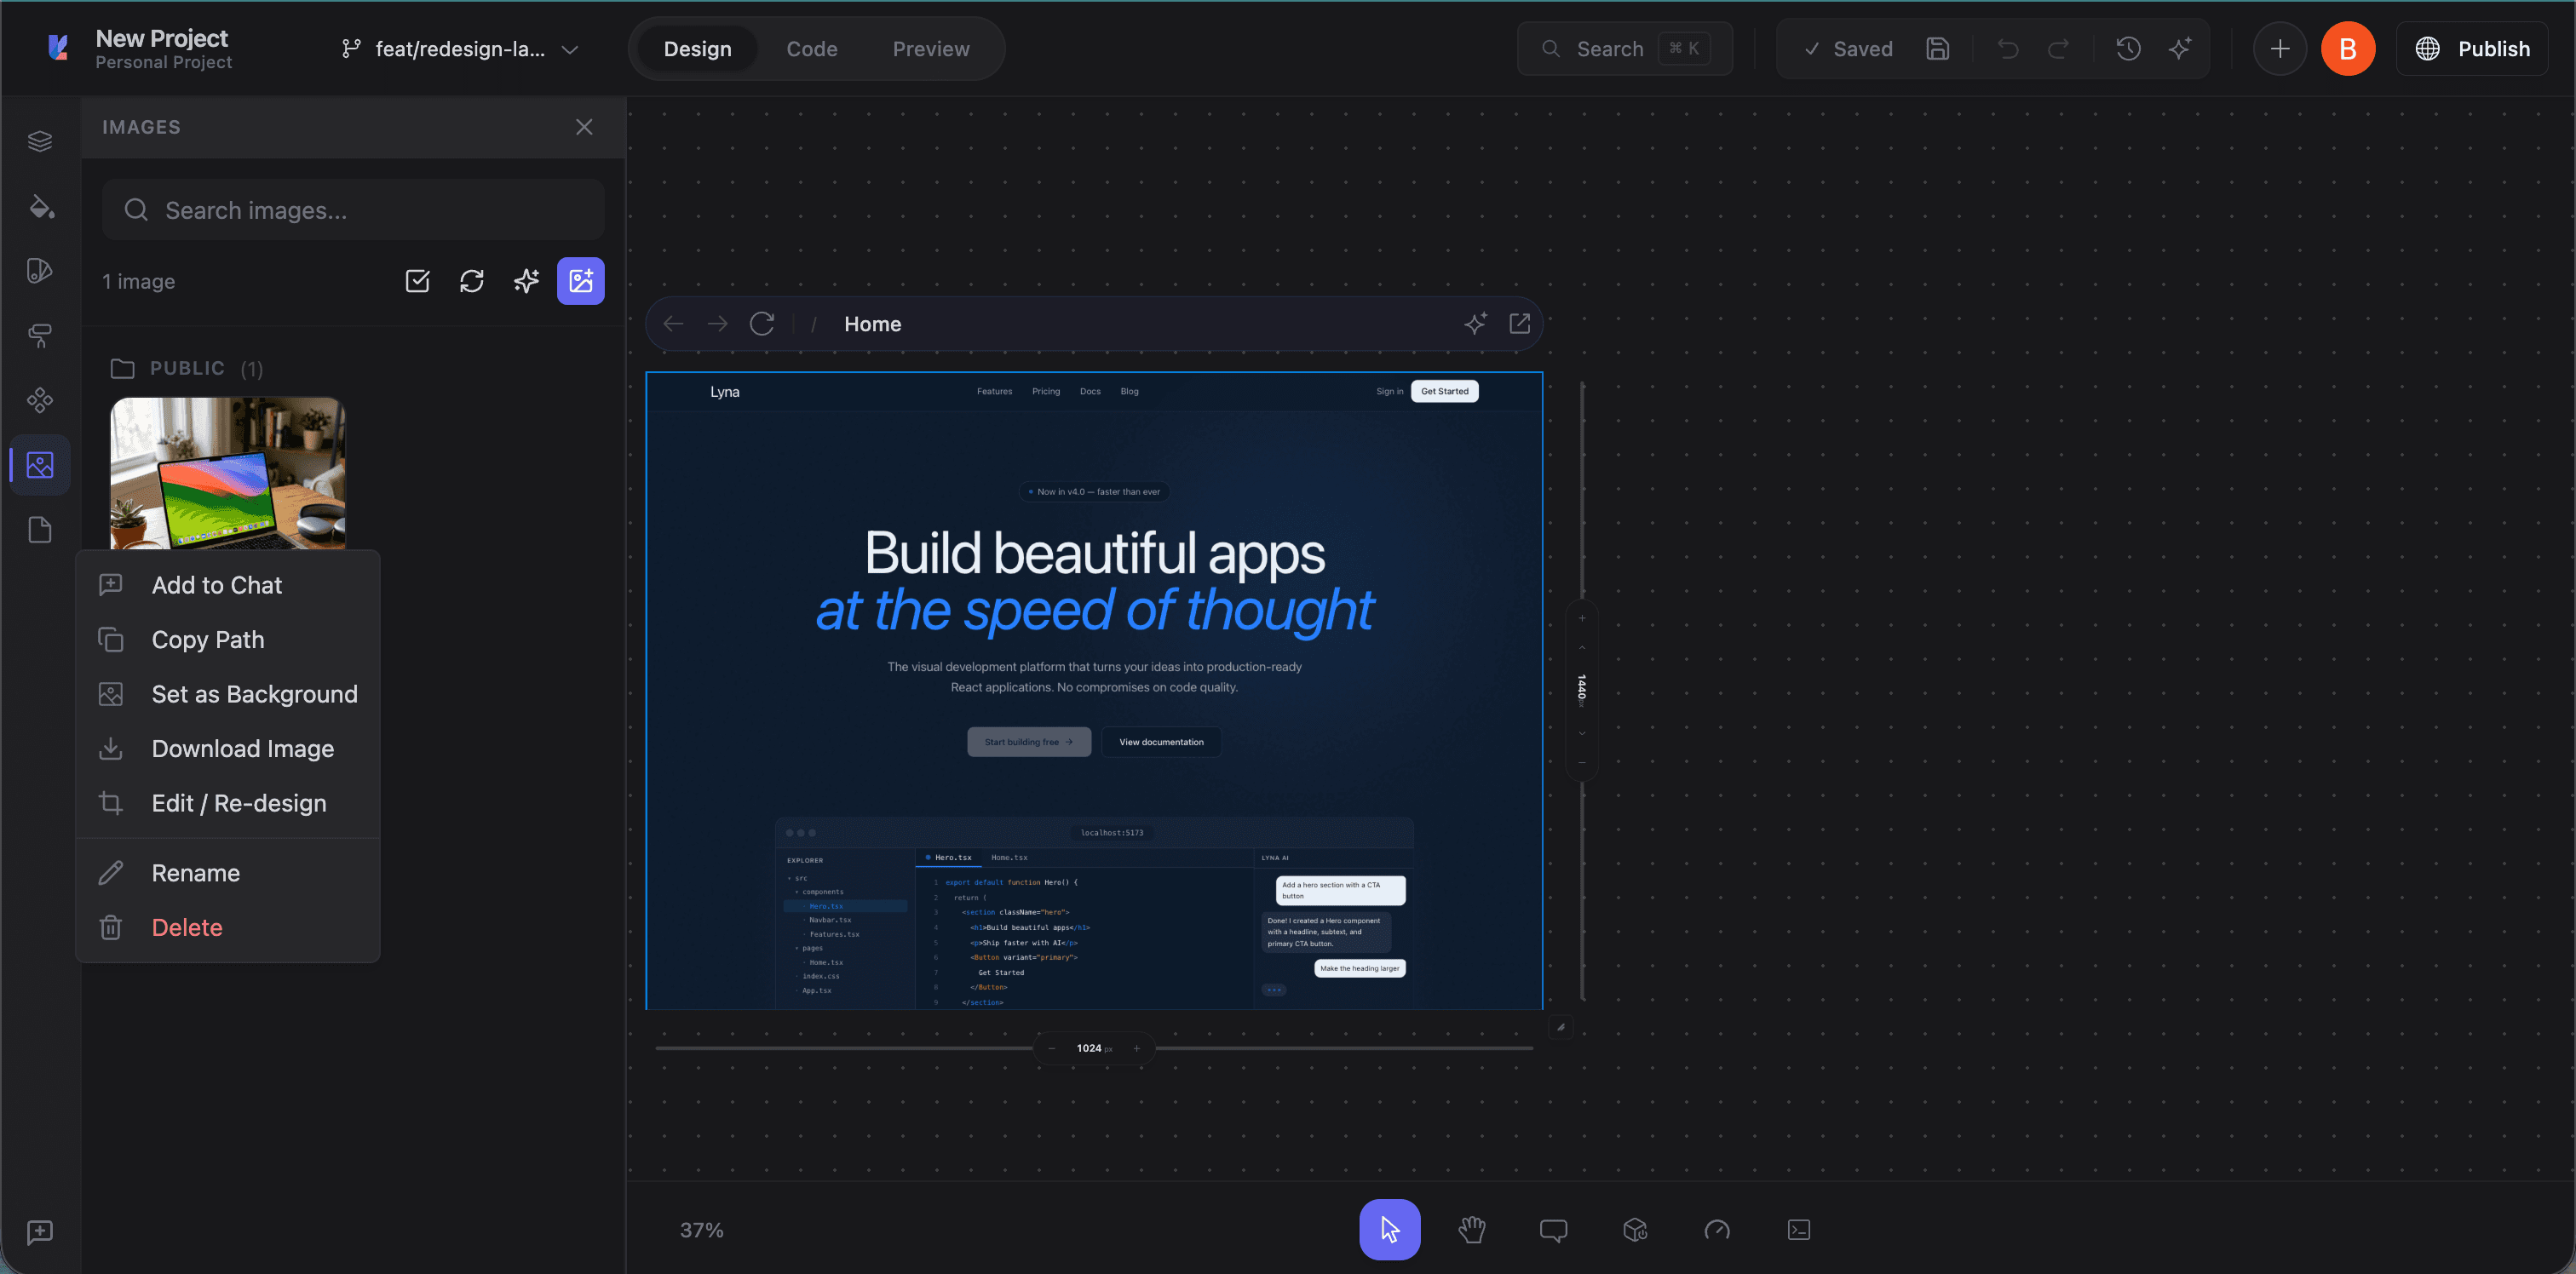
Accessing the Images panel
Click the Images tab (image icon) in the left panel sidebar. All images in your project are shown, organized by folder.
Browsing images
Lyna scans your project for image files and groups them by directory:
- public/: Static assets served directly by the web server
- src/assets/: Images bundled with the application
- Other: Images in other directories
Each image shows a thumbnail and file path. Use search to filter by name.
Refreshing
Click the refresh button to rescan for new or deleted images. The scan also runs automatically when the panel opens.
Uploading images
Click the Upload button (plus icon) to open the upload modal:
- Select one or more images from your computer
- Choose a destination (
public/orsrc/assets/) - Click upload
- Images are written to the sandbox and appear in the panel
Available for use in your components immediately.
AI image generation
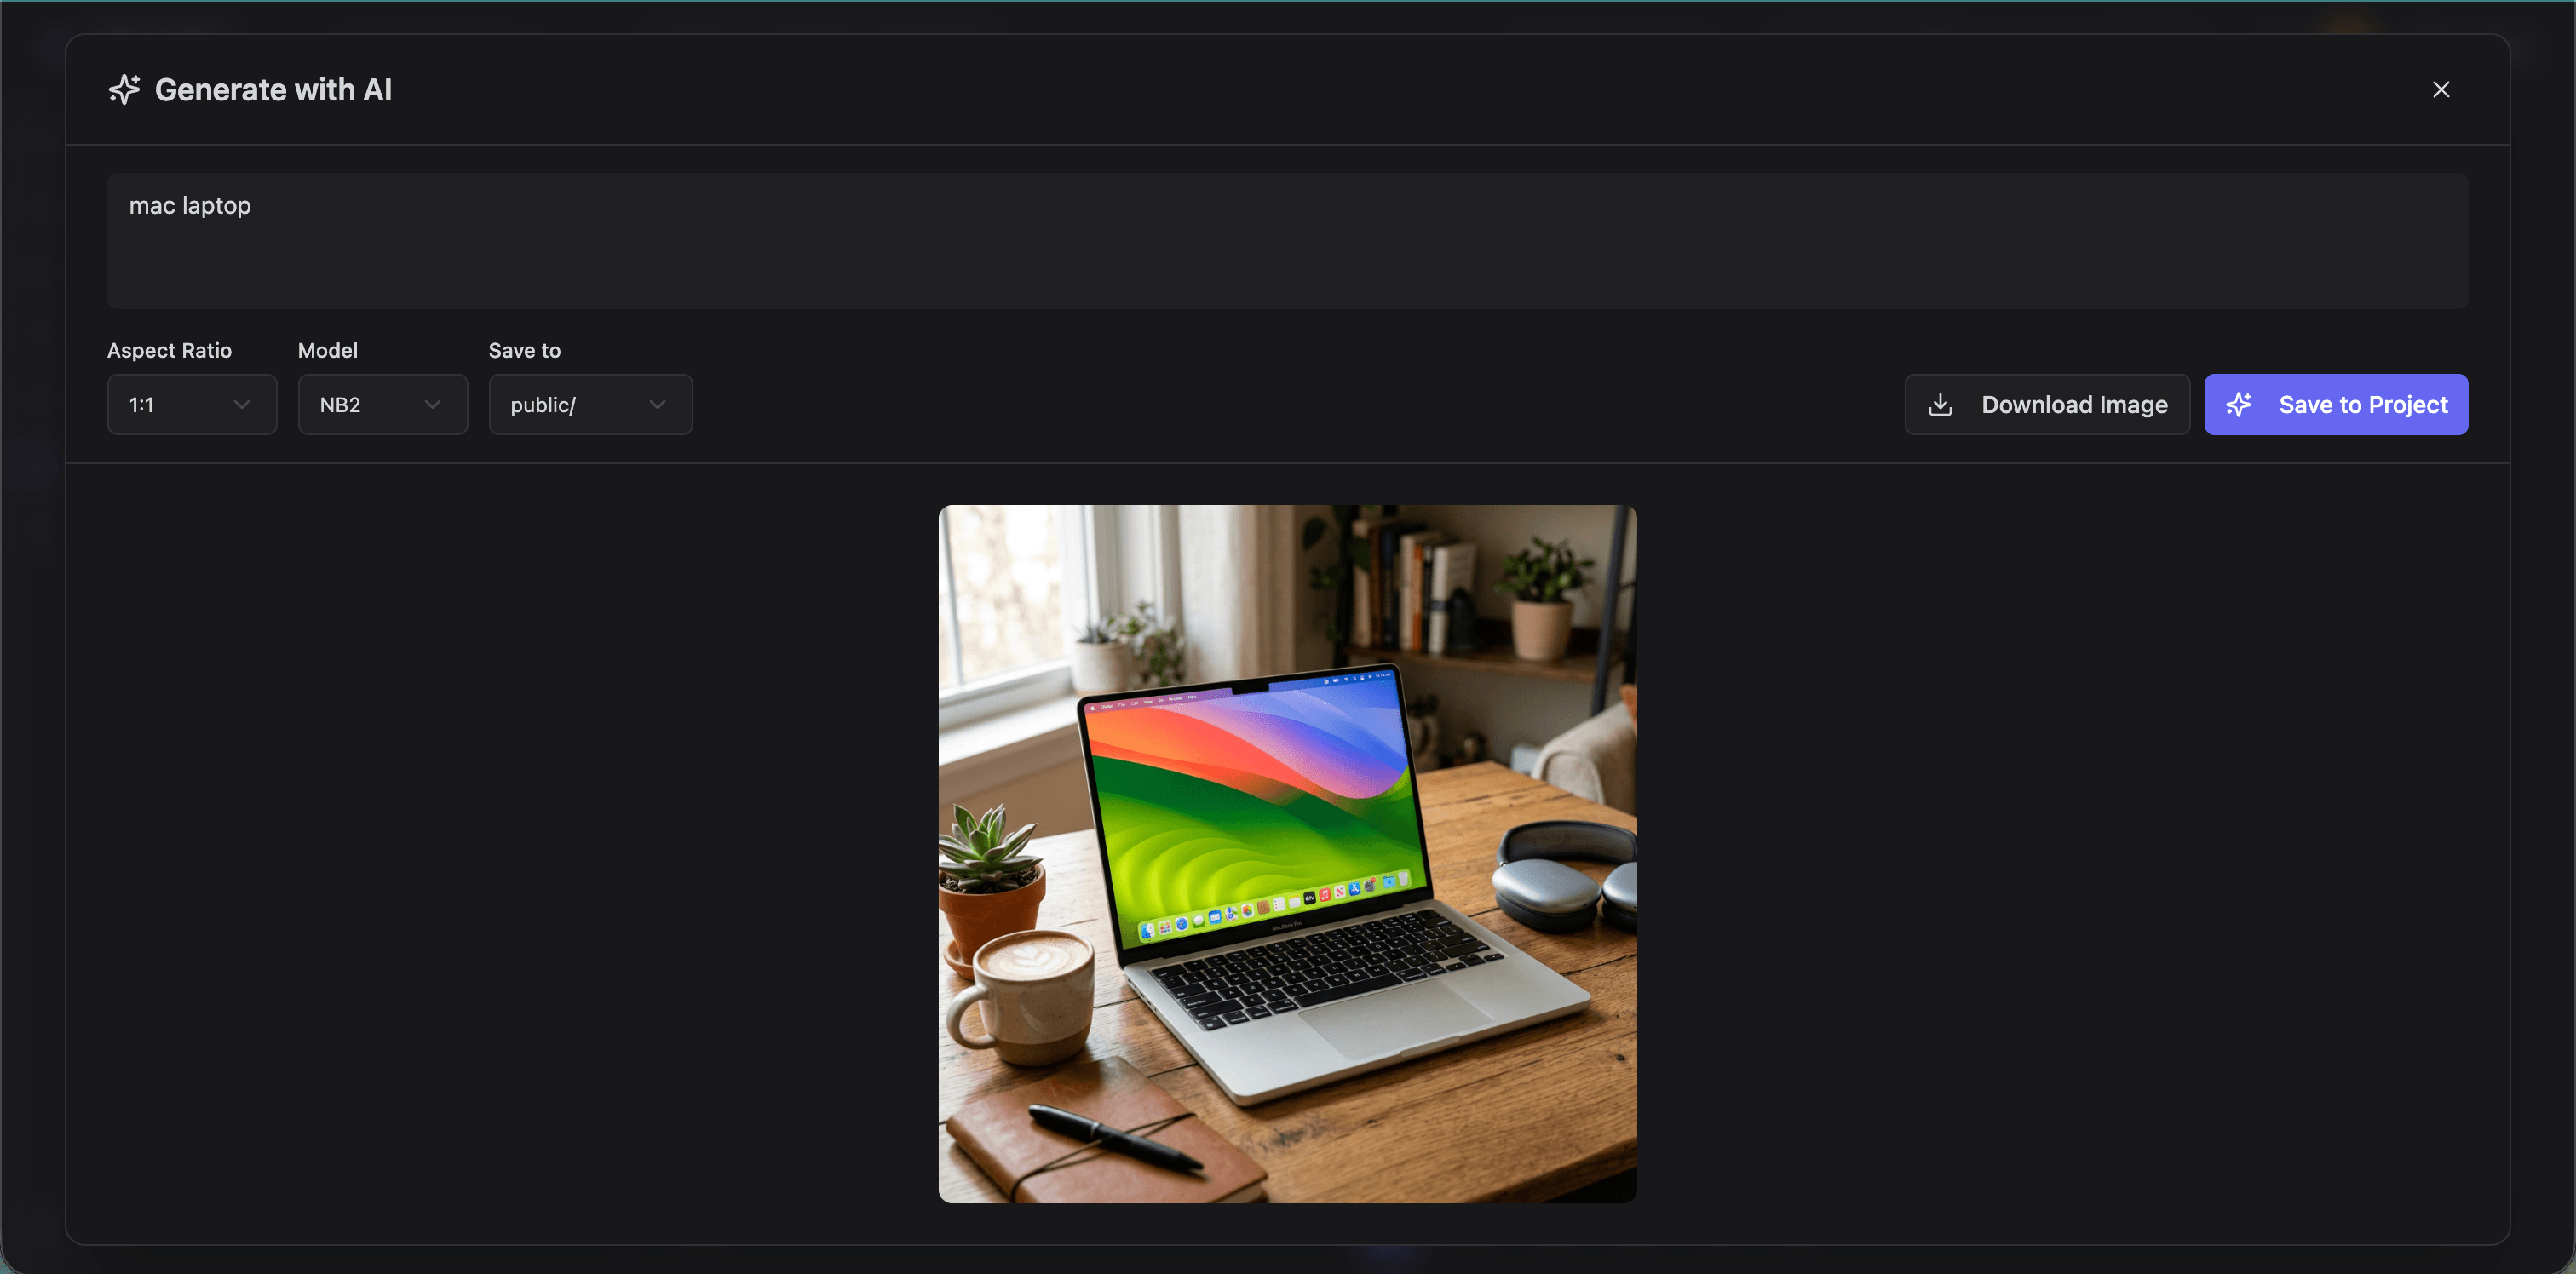
Click Generate (sparkle icon) to open the AI image generator.
How it works
- Describe the image: Write a text prompt (e.g., "a minimalist illustration of a mountain landscape at sunset")
- Choose an aspect ratio: Square (1:1), Landscape (16:9), Portrait (9:16), 4:3, 3:4, 3:2, 2:3, 5:4, 4:5, or Wide (21:9)
- Select a model:
- NB2:
gemini-3.1-flash-image-preview: High quality with optional thinking level and resolution controls (1K/2K/4K) - Pro:
gemini-3-pro-image: Professional-grade output - Classic:
gemini-2.5-flash-image: Fast, reliable generation
- NB2:
- Configure options (NB2 only):
- Thinking level: Minimal or High
- Resolution: 1K, 2K, or 4K
- Grounding: Enable for more realistic results
- Choose destination:
public/orsrc/assets/ - Generate: Progress phases show: Sending, Generating, Processing, Loading
Generated images use your Lyna credits, shown in the modal.
AI generation via chat
You can also ask the AI in Build Mode to generate images through chat. The AI has access to Pollinations.ai (Flux models) for free generation without using credits. Good for prototyping and placeholder images.
Built-in image editor
Click the edit button on any thumbnail to open the editor with two modes:
Crop mode
- Free-form cropping: Drag the crop region
- Aspect ratio constraints: Lock to 1:1, 16:9, 4:3, etc.
- Circle stencil: Crop to a circle for avatars
- Rotate and flip: 90-degree rotation, horizontal/vertical flip
Adjust mode
Fine-tune with sliders:
- Brightness: Lighten or darken
- Contrast: Adjust light/dark contrast
- Saturation: Boost or reduce color intensity
- Hue: Shift the overall color tone
Output settings
Before saving:
- Quality: Compression level
- Format: Auto, JPEG, PNG, or WebP
Saving
Click Save to apply edits. Overwrite the original or save as a new file.
Managing images
Renaming
Right-click or use the rename action. Code references may need separate updating.
Deleting
Click the select button in the toolbar, check images to remove, click delete. A confirmation prompt prevents accidental deletions.
Bulk operations
Selection mode lets you work with multiple images at once.
Tips
- Use WebP: Better compression than JPEG or PNG at equivalent quality. Smaller files, faster loads.
- Generate placeholders: Use the AI generator for realistic placeholder content instead of stock photos.
- Circle crop for avatars: The circle stencil makes properly shaped profile images.
- Organize by folder:
public/for assets needing direct URL access,src/assets/for images that should be bundled and optimized.