Design
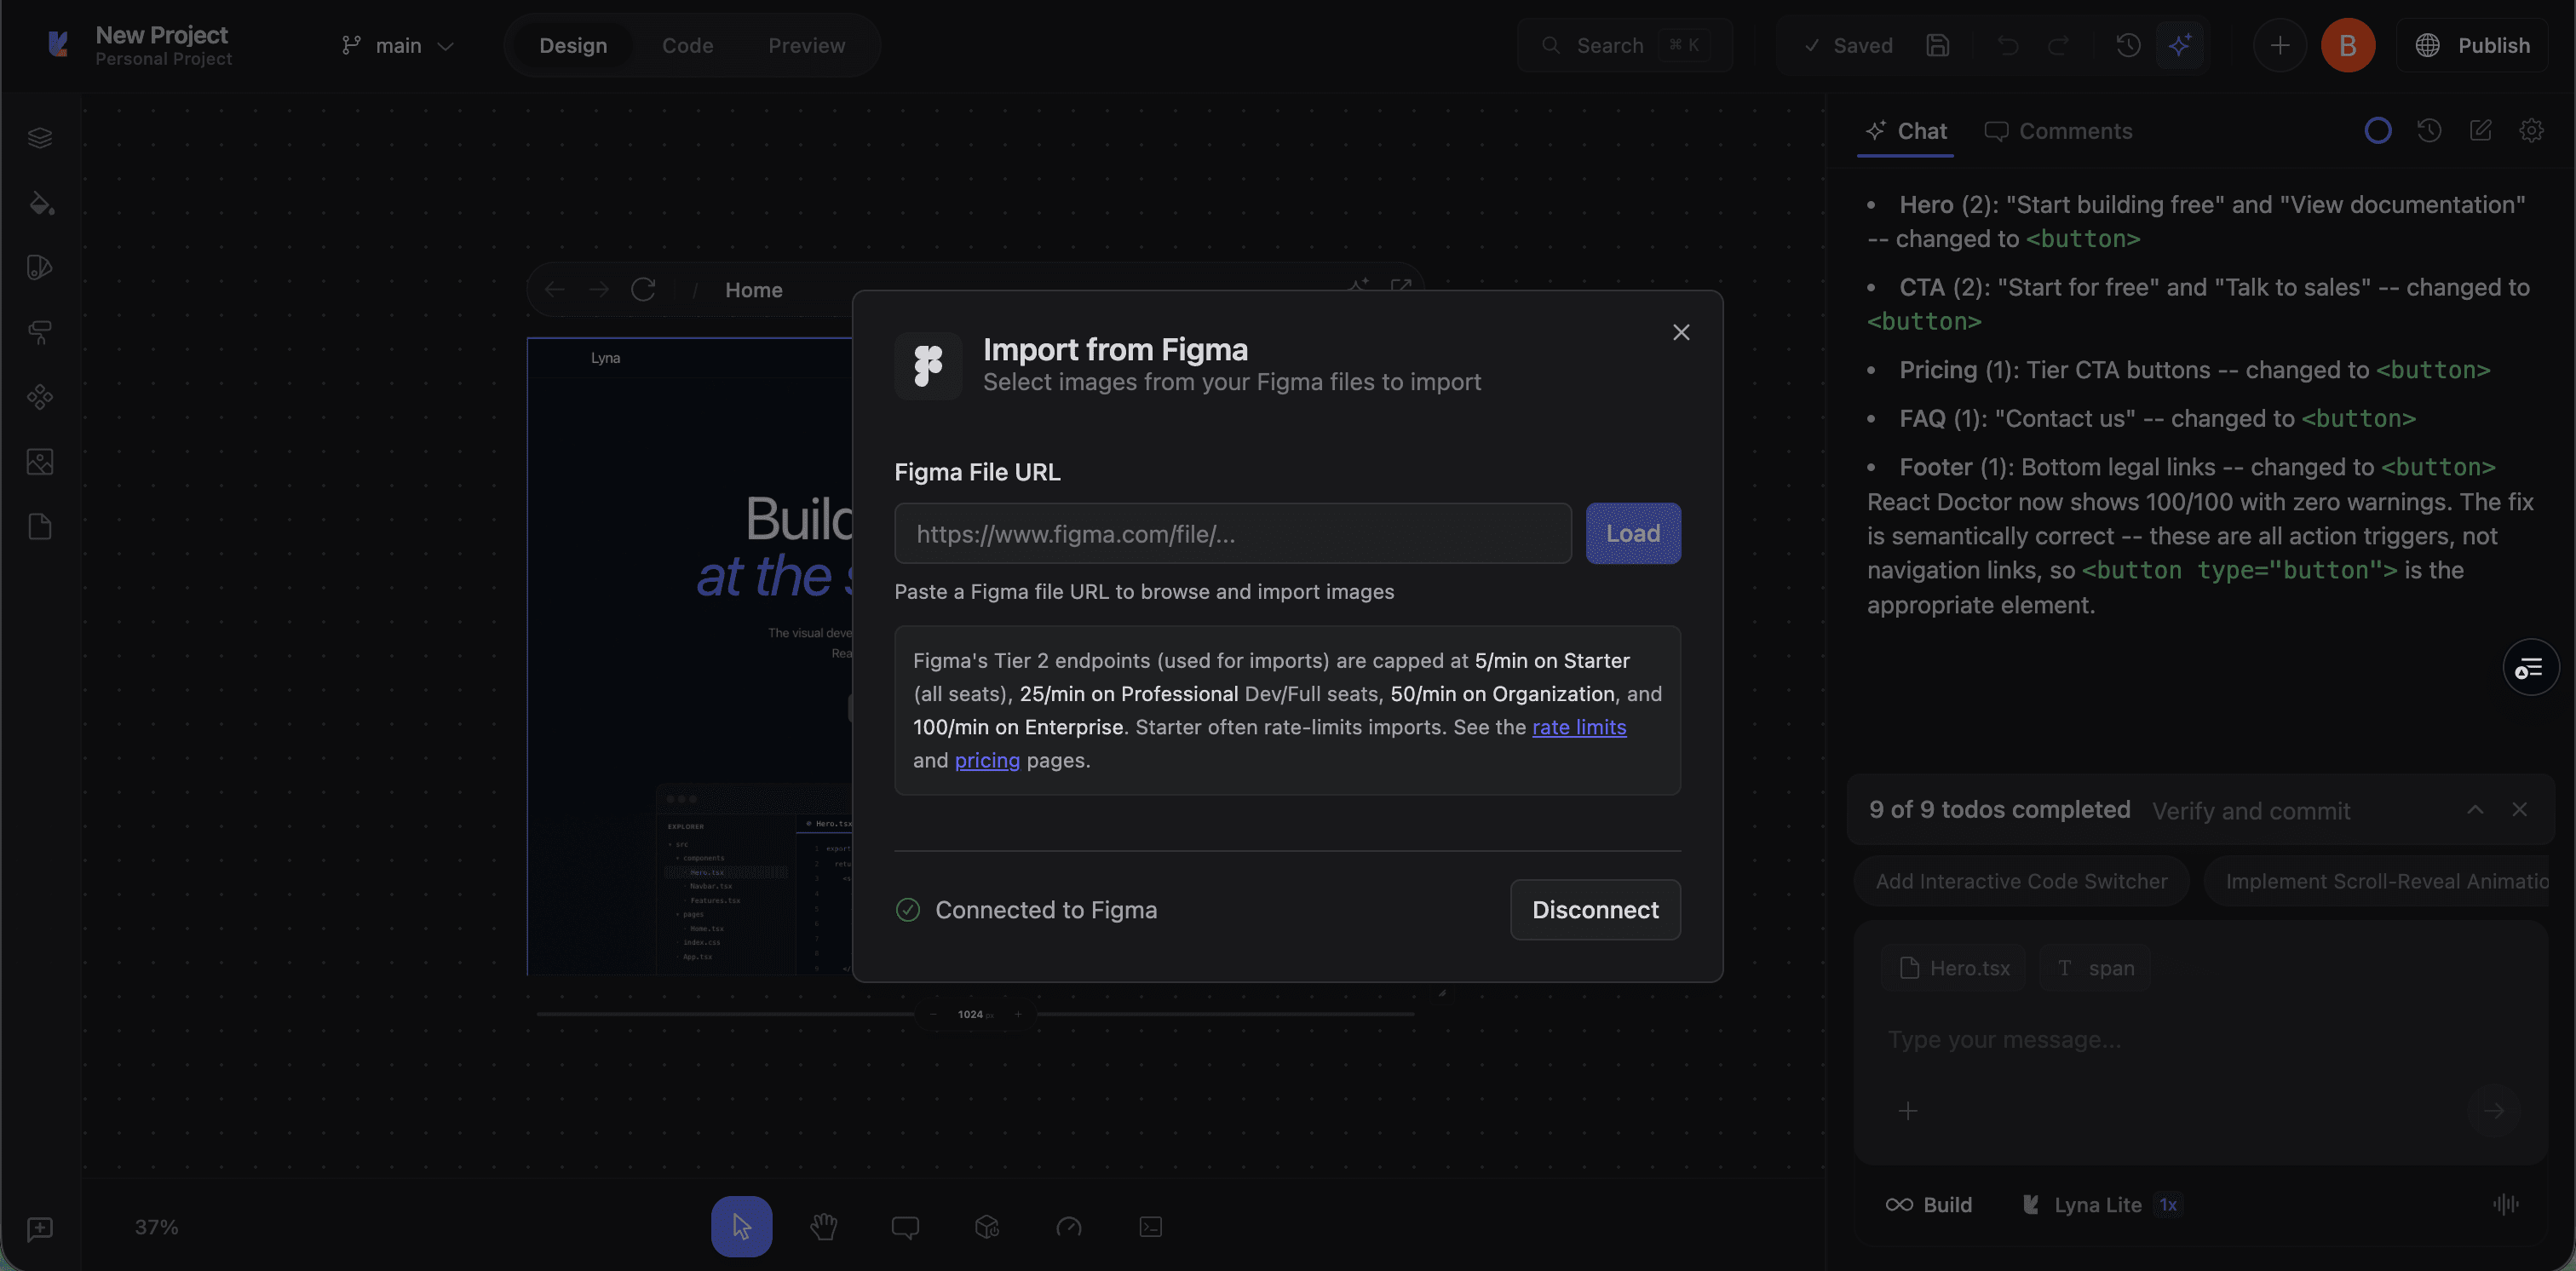
Figma Import
Paste a Figma file or frame URL, and Lyna's AI converts it into working React components with Tailwind CSS styling, proper component structure, and responsive behavior.
How it works
- Provide a Figma URL: A file, page, or specific frame
- AI analyzes the design: Reads structure, layout, colors, typography, spacing, and component hierarchy
- Code is generated: React components with Tailwind CSS classes matching the design
- Files are added to your project: Written to the sandbox and visible on the canvas
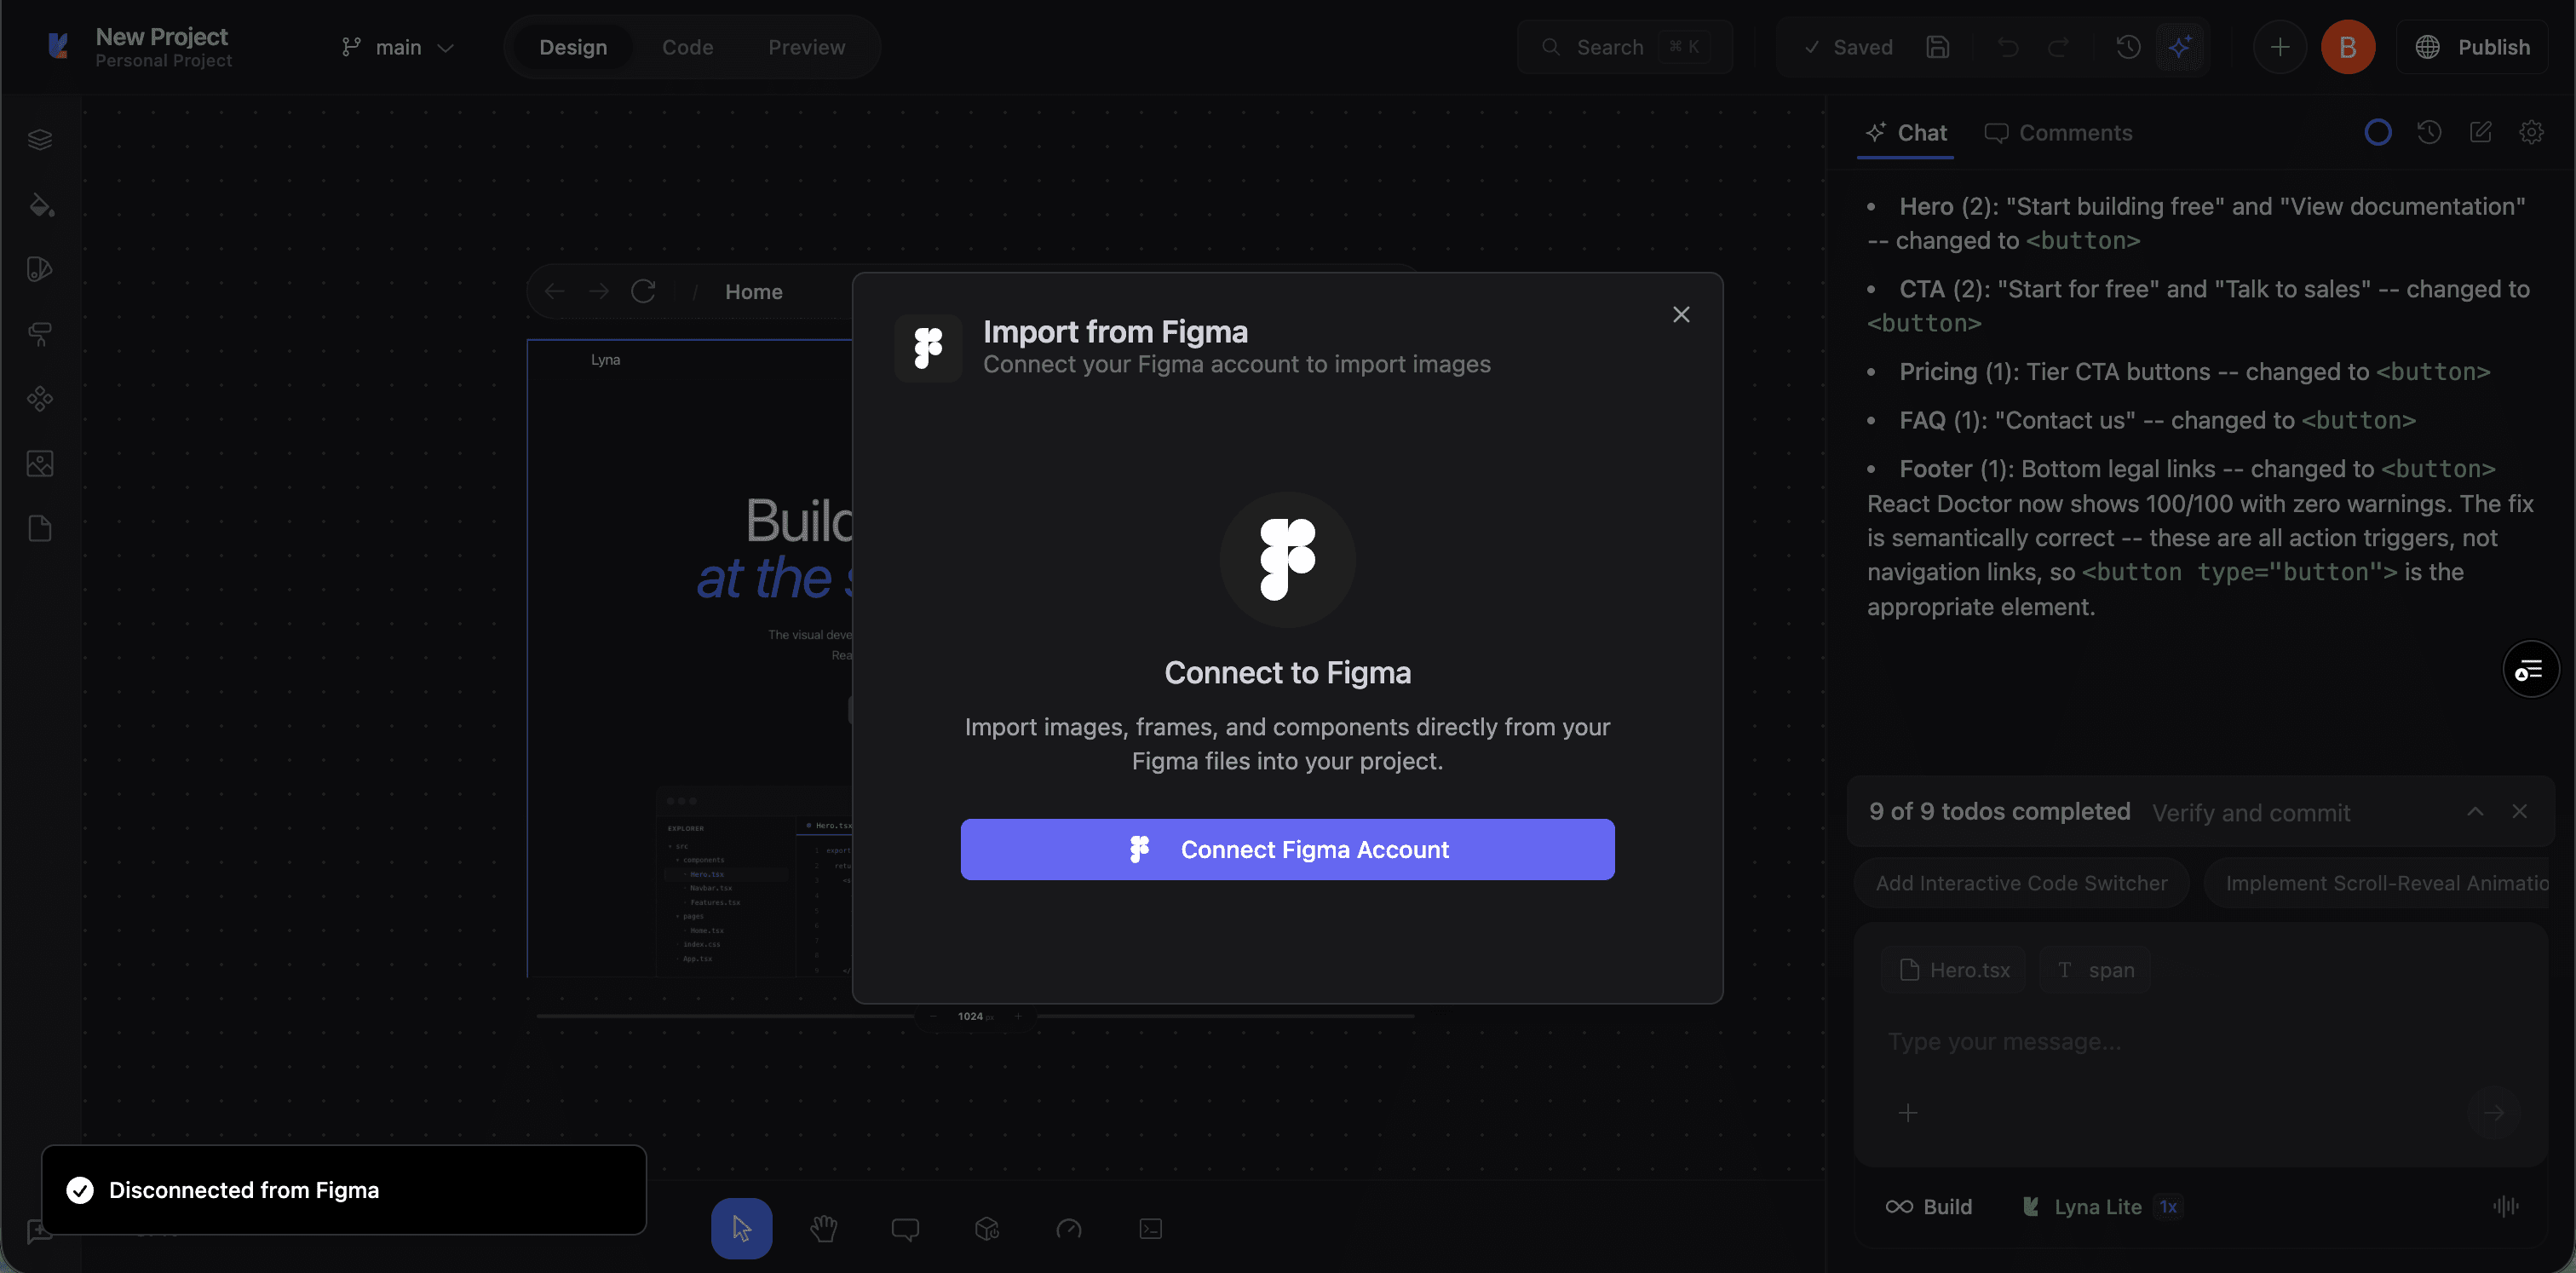
Connecting Figma
Connect your Figma account via OAuth before importing:
- Open the import flow (via
/figmaor settings) - Click Connect Figma
- Authorize Lyna to access your files
- Paste any Figma URL to import
The OAuth connection reads your files through the Figma API for accurate design data extraction.
Starting an import
From the slash command
Type /figma in the chat. This opens the import flow where you paste your URL and add instructions.
From the chat
In Build Mode, tell the AI what to import:
- "Import this Figma design: [paste URL]"
- "Convert this Figma frame to a React component"
- "Build this page based on my Figma mockup: [paste URL]"
What gets imported
Layout
- Auto layout maps to Flexbox (
flex,flex-col,gap,justify-*,items-*) - Constraints map to positioning and sizing
- Frame dimensions map to width and height
Typography
- Font family, size, weight map to Tailwind typography classes
- Line height and letter spacing are preserved
- Text alignment and decoration are applied
Colors
- Fill colors map to
bg-*classes or inline styles - Text colors map to
text-*classes - Border colors map to
border-*classes - Gradients are translated to CSS gradient syntax
Spacing
- Padding from auto layout maps to
p-*classes - Gap between children maps to
gap-*classes - Margins are applied to elements
Effects
- Drop shadows map to
shadow-*classes or custom box-shadow - Border radius maps to
rounded-*classes - Opacity maps to
opacity-*classes
Images
- Bitmap images are exported and added to project assets
- Vector graphics may be converted to SVG components
Component mapping
The AI makes smart decisions about component structure:
- Buttons in Figma become
<Button>using shadcn/ui - Input fields become
<Input>with labels - Cards become
<Card>with proper semantics - Lists become mapped arrays or repeated components
- Navigation becomes
<nav>elements with links
If shadcn/ui components are installed, the AI uses them instead of generating custom implementations.
Customizing the import
Guide the import with instructions:
- "Make it responsive": Adds breakpoint classes for different screen sizes
- "Use these specific components": Points to existing components in your project
- "Only import this section": Focus on a specific part of the design
- "Match the colors to my theme": Maps Figma colors to your semantic tokens
Post-import workflow
- Review on the canvas: Check visual output against the original
- Adjust in the Styles panel: Fine-tune spacing, colors, and typography
- Add interactivity: Use Build Mode for click handlers, state, data fetching, navigation
- Make it responsive: Use breakpoint tools for different screen sizes
- Connect to data: Replace static content with dynamic data
Limitations
- Complex animations: Figma prototyping animations aren't imported. Add them with Framer Motion or CSS transitions.
- Custom components: Figma component instances are interpreted visually, not as logical relationships.
- Pixel fidelity: Tailwind classes approximate the design. Minor spacing or sizing differences may occur.
- Interactive states: Hover, active, and focus states from Figma variants need to be implemented in code.
Tips
- Design with auto layout: Auto layout translates much more cleanly to Flexbox than absolute positioning.
- Use consistent spacing: Stick to Tailwind-friendly values (4px, 8px, 12px, 16px, 24px, 32px) in Figma for better class mapping.
- Name your layers: Meaningful names help the AI generate better component names and semantic HTML.
- Import sections, not entire pages: For complex designs, import one section at a time for better results.