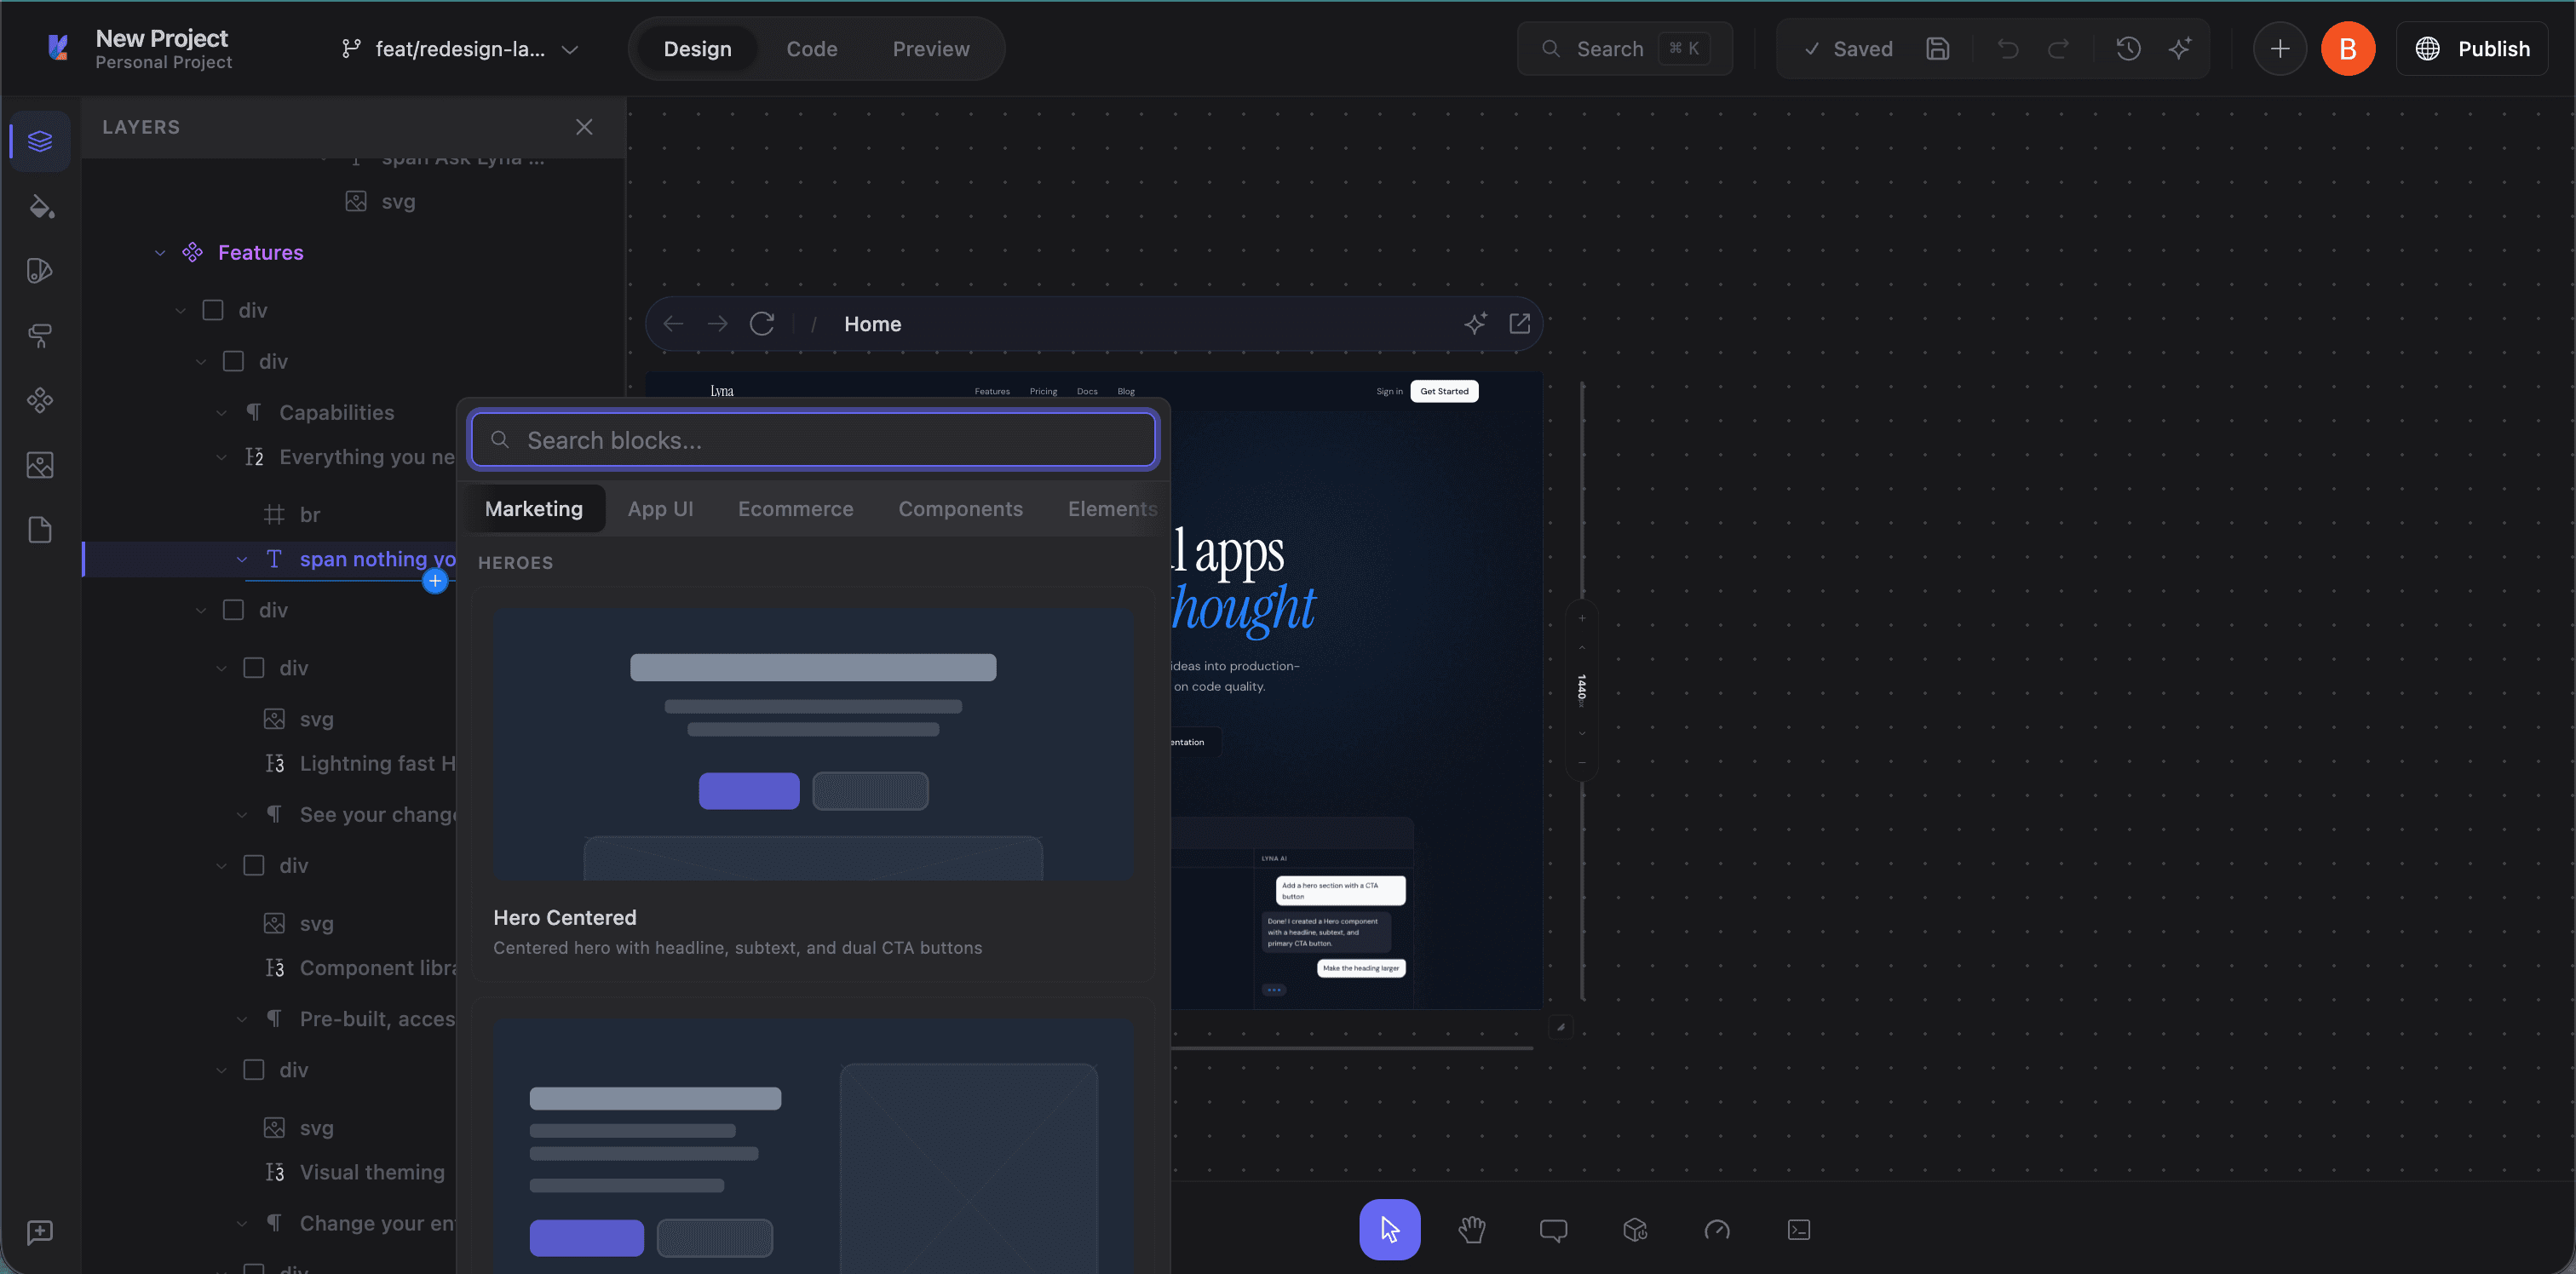
Block Inserter
The Block Inserter is a library of pre-built page sections you can drop into your app with one click. Instead of building common UI patterns from scratch, browse the catalog, pick a block, and place it exactly where you want.
Accessing the Block Inserter
From the Layers panel
In the Layers panel, hover between any two sibling elements. A + button appears. Click it to open the Block Inserter, already targeted to that position.
From the canvas
Right-click a container element and select Insert Block from the context menu.
Block categories
Blocks are organized into seven categories:
Marketing
Sections for landing pages and marketing sites:
- Hero sections: Full-width headers with headlines, descriptions, and CTAs
- Feature grids: Product features in grid or card layouts
- Pricing tables: Tier comparisons with feature lists and action buttons
- Testimonials: Customer quotes and social proof
- Call-to-action: Conversion sections with forms or buttons
- FAQ: Accordion or list layouts
- Newsletter: Email signup forms
- Stats: Number-driven metrics sections
- Logos: Client or partner logo bars
Application UI
Sections for app interfaces:
- Authentication: Login, registration, and password reset forms
- Dashboard layouts: Stat cards, chart areas, and activity feeds
- Settings pages: Form-based settings with sections
- Profile pages: User info display and edit forms
- Error pages: 404, 500, and maintenance pages
E-commerce
Sections for online stores:
- Product grids: Cards with images, prices, and add-to-cart buttons
- Product detail: Single product with gallery, description, and purchase options
- Cart: Item list and totals
- Checkout: Multi-step checkout forms
Components
Smaller, reusable patterns:
- Navigation: Headers, sidebars, and breadcrumbs
- Footers: Multi-column footer layouts
- Cards: Content cards in various configurations
- Lists: Structured content lists
Elements
Basic building blocks:
- Buttons: Button groups and variants
- Forms: Input groups and form layouts
- Typography: Heading and text combinations
- Dividers: Decorative separators
Sections (Marketing)
Extended marketing layouts:
- Feature showcases: Detailed presentations with images
- Team sections: Team member grids and bios
- Contact sections: Contact forms with maps and info
Sections (E-commerce)
Extended e-commerce layouts:
- Product showcases: Featured product highlights
- Category browsers: Product category navigation grids
- Sale banners: Promotional and seasonal sections
Inserting a block
- Open the Block Inserter from the Layers panel or canvas
- Browse categories or search by name
- Each block shows a wireframe preview of its structure
- Click to insert at the target position
- The code is added to the source file and the canvas updates immediately
How insertion works
- Lyna identifies the parent element and insertion index from the layers tree
- The block's JSX is injected at the correct position in the source file
- The dev server picks up the change via HMR
- The canvas refreshes with the new section
Inserted code uses Tailwind CSS classes and follows the same conventions as your existing code.
Customizing inserted blocks
Blocks are plain JSX. No special wrappers or abstractions. After insertion, customize with any of Lyna's tools:
- Styles panel: Select elements within the block and adjust styles
- Code editor: Edit markup, classes, or content directly
- AI chat: "Change the hero to a dark background" or "Add a third pricing tier"
- Canvas: Select elements and use the editor bar for quick adjustments
Block previews
Each block shows a wireframe SVG preview illustrating its structure and layout, giving you a sense of what it looks like before inserting.
Search
Use the search field to find blocks by name, description, or subcategory. Searching "hero" shows all hero variants; "pricing" shows pricing tables.
Tips
- Use blocks for structure, then customize: Get a solid starting point, then adjust colors, spacing, and content.
- Insert from the Layers panel: The + buttons give you the most precise placement control.
- Combine with AI: Insert a block, then ask the AI to populate it with your content or add interactivity.
- Browse all categories: Even for a SaaS dashboard, marketing blocks work great for landing pages, onboarding, or empty states.