Storage
Create public or private buckets, upload files and folders, set file size limits and copy file links.
Storage keeps the files your app serves: images, videos, documents and more. Open Settings > Lyna Cloud > Storage. It needs a project database: see Set up a database.
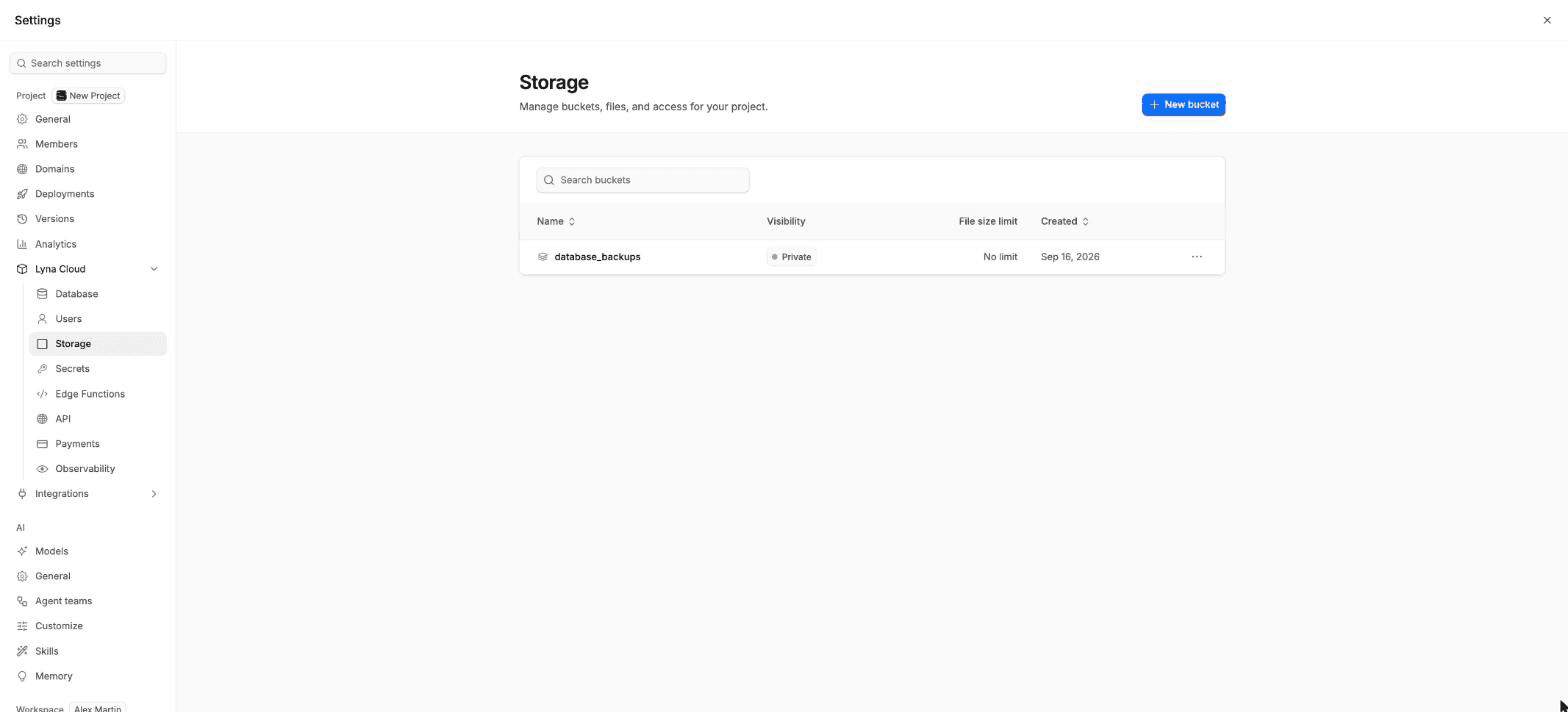
What you can do
- Create buckets, each with its own access rule and file size limit.
- Upload files by drag and drop, and create folders.
- Open, download, copy the link of and delete files.
- Edit or delete buckets.
Create a bucket
Choose New bucket
Enter a Bucket name: 3 to 63 characters, lowercase letters, numbers and hyphens.
Choose who can read it
Turn on Make this bucket public to serve files to anyone with the URL. Leave it off for a private bucket: then a file needs a signed URL.
Create it
Choose Create bucket. You cannot rename a bucket later.
Upload files
Open a bucket and choose Upload. Drop files or click to pick them, then choose Upload. Any file type works. Use New folder to organize files.
Each file shows its size, type and upload date. Its menu offers Open, Download, Copy URL and delete. Select several files to delete them together.
Edit a bucket
Choose Edit bucket to change Public bucket and the File size limit in MB. On a Lyna-managed database, uploads have a maximum size that the dialog shows.
Delete bucket removes the bucket and every file in it. You type the bucket name to confirm. This cannot be undone.
Use files in your app
- Public bucket: copy a file's URL and use it in an
<img>tag or ask the AI to use it. - Private bucket: your app asks for a signed link for a signed-in user. Ask the AI, for example: "Let signed-in users upload an avatar to a private avatars bucket and show it on their profile."
Small images that ship with your app can also live in the project itself. See Using images.