Storage
Supabase Storage lets you upload images, documents, and media, organize them into buckets, and serve them to users. Manage everything from Settings > Cloud > Storage.
Storage requires a Pro plan subscription. Free-tier users see an upgrade prompt.
Prerequisites
- A connected Supabase database.
- An active Pro plan subscription.
Managing Buckets
Buckets are top-level containers for your files.
Creating a Bucket
Click Create Bucket in the storage panel.
Configure the settings:
- Name: a unique identifier (e.g.,
avatars,uploads,media). - Public access: toggle whether files are publicly accessible via URL or require authentication.
- File size limit: optional maximum file size for uploads.
Click Create.
Editing a Bucket
Click the options menu on any bucket to change its settings or delete it.
Deleting a bucket removes all files inside it permanently. This cannot be undone.
File Browser
Select a bucket to open the file browser.
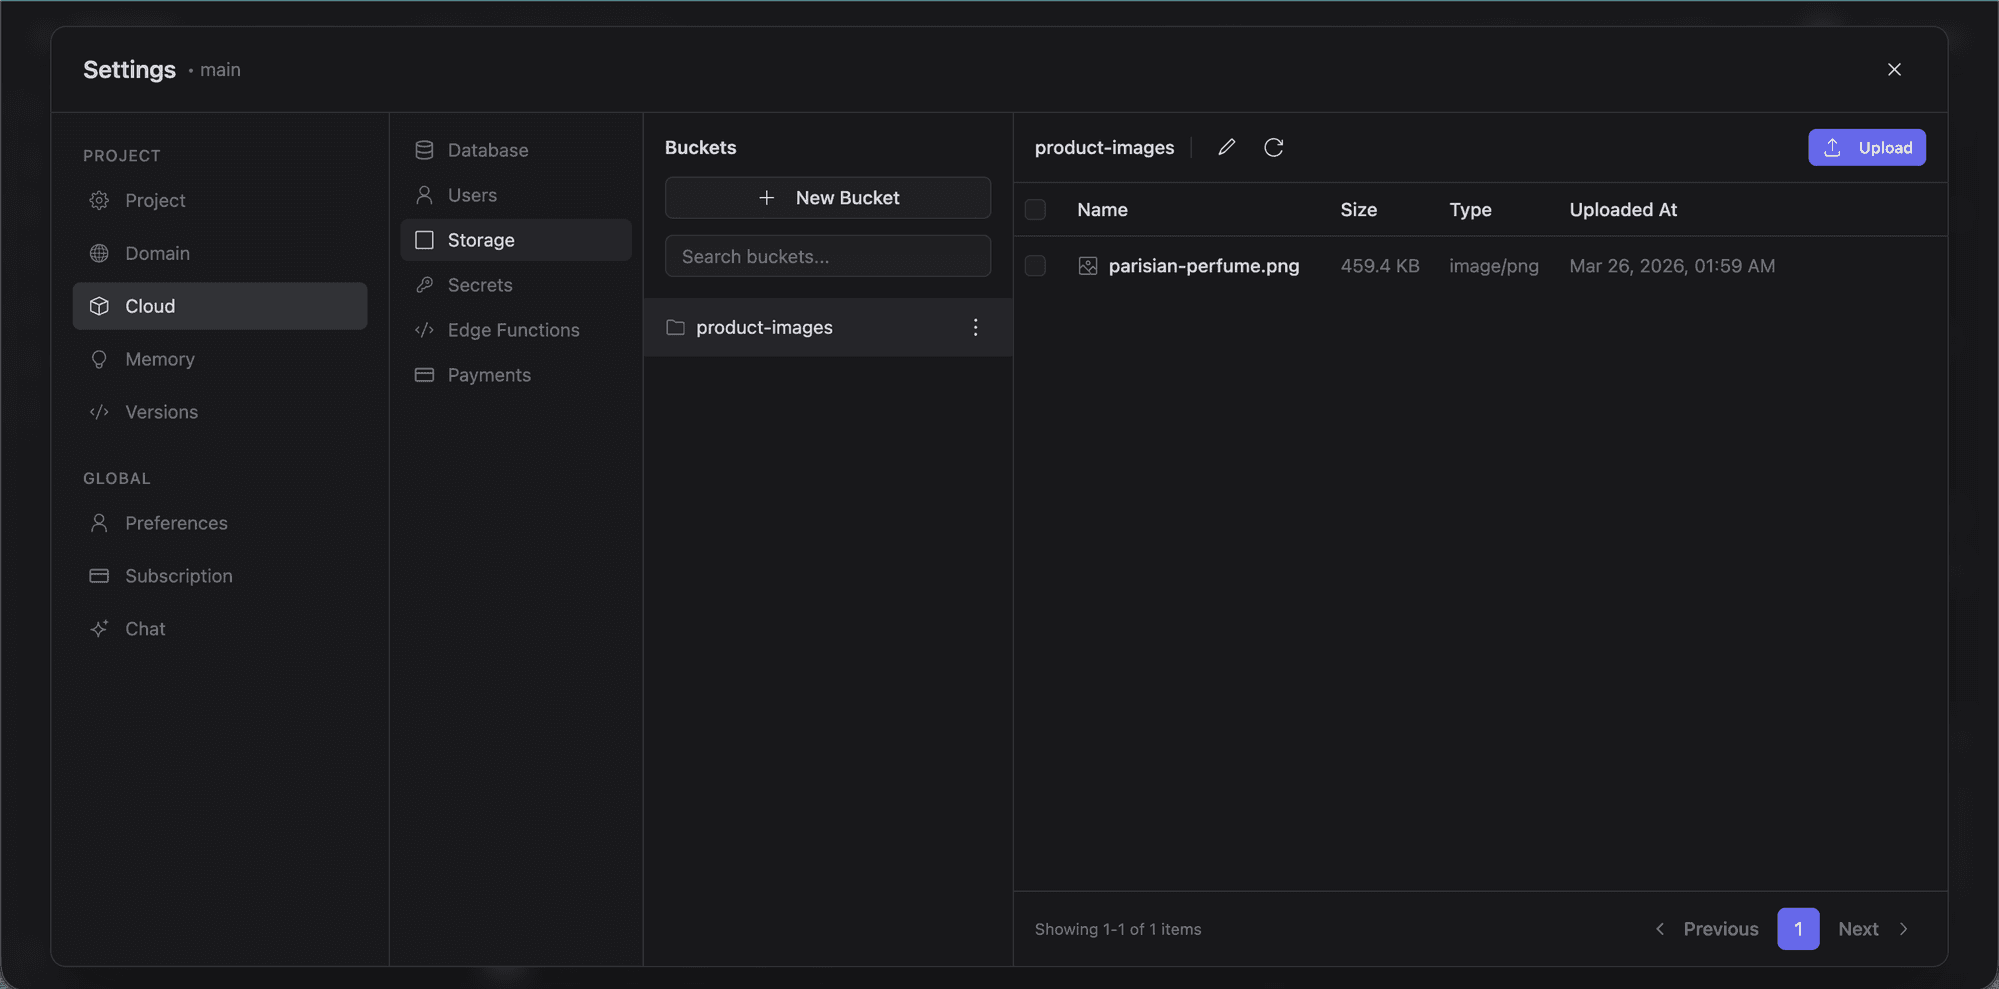
- File list: browse files and folders.
- Search: filter by name.
- Upload: add files from your local machine. You can select multiple files and track upload progress.
- Delete: remove individual files.
Using Storage in Your App
When the AI generates code for file uploads or media display, it uses the pre-configured Supabase Storage client. Common use cases:
- User avatars and profile pictures
- Image galleries
- File attachments linked to database records
- Serving media via public URLs
Public buckets give you publicly accessible URLs for each file. Private buckets require an authenticated request or a signed URL.
Storage Policies
Like database tables, storage buckets support access policies. These integrate with Supabase Auth so you can restrict uploads, downloads, and deletions based on the authenticated user.